3D Printing for Film and Photography
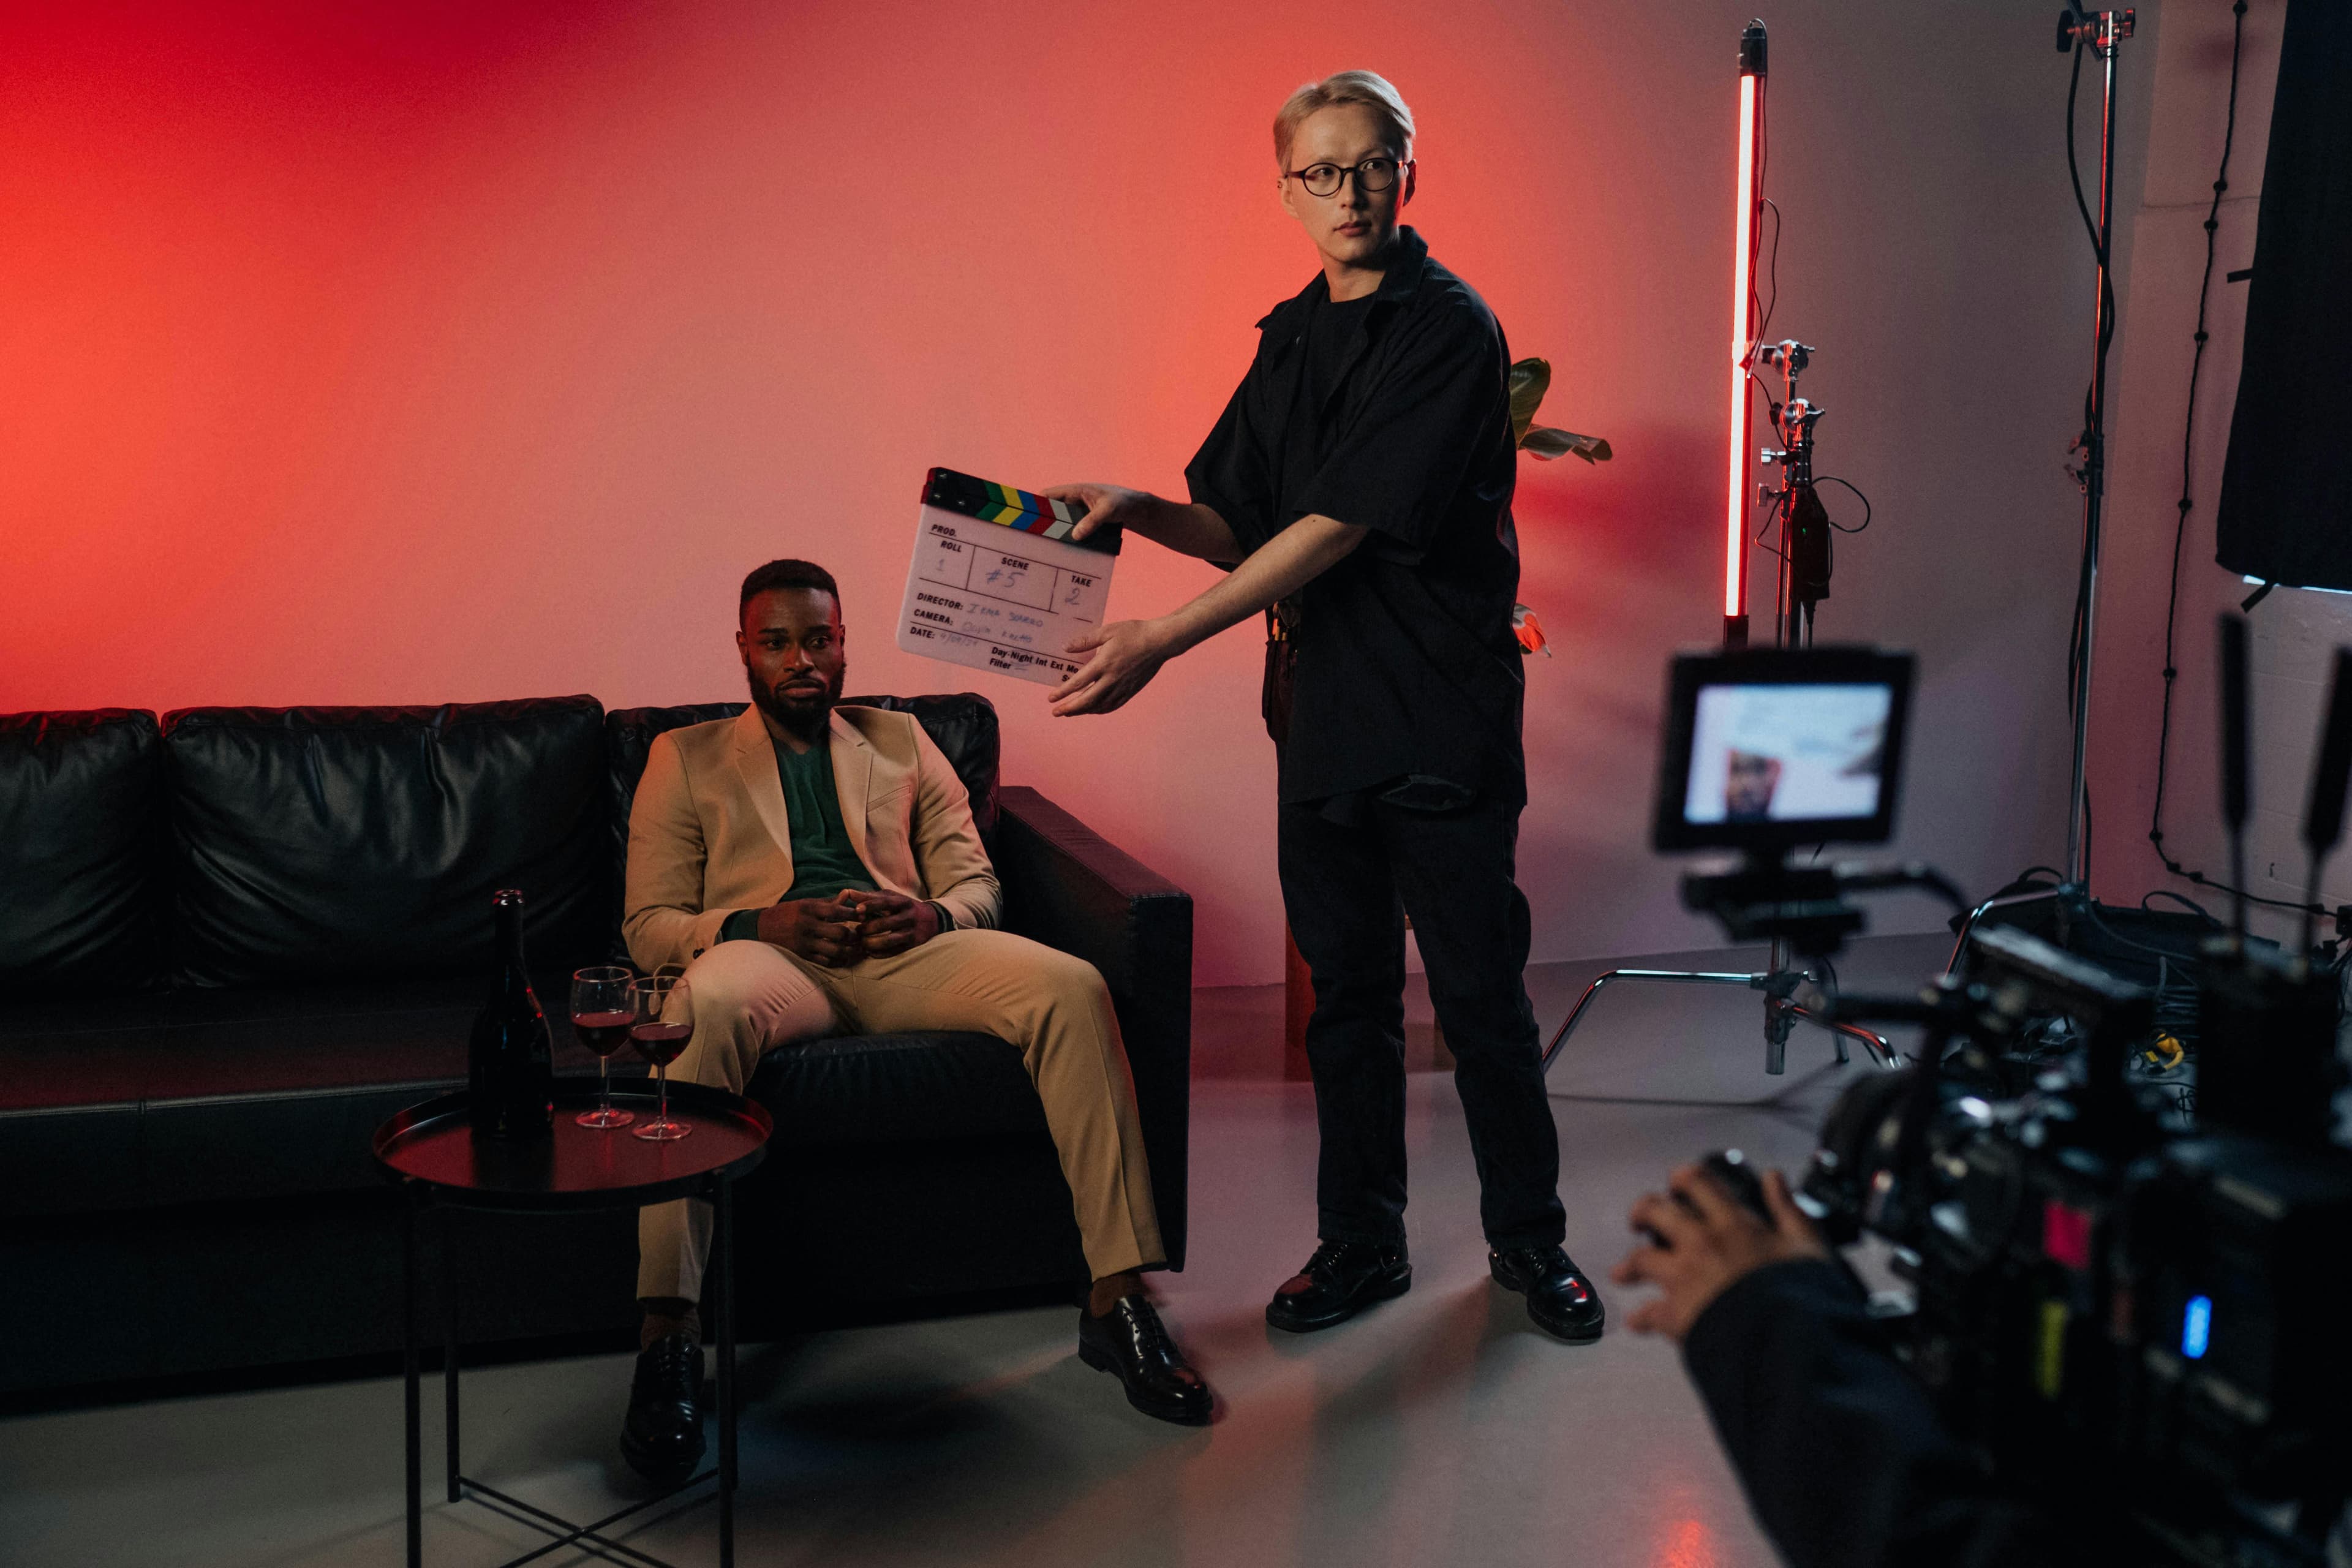
In film production, nothing waits. The script changes Monday, shooting is Friday, and somebody has to build that 1.5-meter black eagle the protagonist holds in the scene. Over the past five years, 3D printing has become a routine tool for film and photo producers — because it can take a sketch to a hero prop in days, not weeks.
This article covers how 3D printing fits a film and photo production workflow, and the practical trade-offs along the way.
Where 3D printing fits in production
Some areas where we see regular use:
- Hero props. The single key object the protagonist holds — a weapon, talisman, fantastical artifact. Typically printed in 2–4 variants: hero, backup, battle-damaged, camera-close (max detail).
- Period weapons and tools. Historical swords, axes, blacksmith tools. Designed from museum reference photos or drawings.
- Fantastical creatures and animals. Gargoyles, eagles, werewolf snouts. Detailed surface textures impossible to sculpt by hand in the same time.
- Large-scale set decoration. Two-meter column capitals, ornaments, statues of gods. Printed in segments and assembled on site. See large-format 3D printing for more.
- Stunt doubles. Lightweight, safe copies of real items for stunt scenes — a chair or vase that has to break over an actor's head.
- Replicas in place of IP-protected items. A scene needs a specific brand's bottle but licensing isn't possible — we model a visually similar but legally distinct version.
Photography has its own use cases too:
- Product photography props. Background pieces with exact dimensions for advertising shots.
- Costume detail. Masks, ear pieces, jewelry sets. Lightweight, fast turnaround.
- Studio rigs. Custom mounts, frames, holders that aren't sold off the shelf.
Materials for film and photography production
A film prop differs from a regular print in weight and finish considerations:
- PLA — cheapest, lightest (1.24 g/cm³), prints fast. Suits most visual props. Doesn't tolerate over 50 °C.
- PETG — slightly tougher, handles studio light heat better, fits outdoor props.
- Foam-PLA / LightPLA — low-density filament that drops 30–40% off the weight of large props, important for stunt use.
- TPU (flexible) — for elastic props (e.g. leather-mimicking pieces on a costume).
- Sandstone full-color — photorealistic color straight from the printer, but brittle — only for objects that aren't carried all day.
All standard prop colors (black, gray, white, cream, natural) are available. More specific tones (e.g. "Game of Thrones bronze") are usually hand-finished, not printed in color. See multicolor 3D printing.
Finishing that survives the camera
A raw 3D print shows layer lines that read on camera. For close-up props, finishing isn't optional:
1. Sanding. Standard step to remove layer lines. Hand work with 80–400 grit. Time-consuming — often 2–6 hours on a larger prop.
2. Primer and filler lacquer. Spray primer fills small voids and gives a clean paint base.
3. Hand painting. Acrylics, alcohol-based dyes (for costume pieces), metallic lacquers. Film-makeup-style techniques — aging, wear, dirt — give the realism the camera needs.
4. Lacquer. Matte or satin finish, depending on the lighting. Glossy surfaces are usually a bad idea on camera — reflections cause technical problems.
A good finish often takes more time than the print itself. For a large prop: 2 days printing, 5–10 days finishing.
Workflow with the production team
A typical project with us:
1. Pre-production, early. The art department sends a sketch or concept image, dimensions, and use intent (carried? dropped? has to break?). Often there's no CAD file yet — we can build one from the sketch. See order without a 3D model.
2. First-pass prototype. We print an initial version, often 50–70% scale, so the art director can validate visually. This step is gold — it prevents expensive late changes.
3. Design lock. Once approved, dimensions, color, and finish style are frozen.
4. Hero print + variants. Often 2–4 copies of the same hero prop — primary, backup, battle-damaged, camera-close.
5. On-set support. We can send a technician to the set for emergency fixes — if the prop breaks mid-shoot, we repair on site or print a replacement on a 24-hour turnaround.
Schedules and budget realism
In film, time is often more expensive than material. Realistic timelines:
| Prop type | First prototype | Final finished |
|---|---|---|
| Small prop (sword, tabletop item) | 2–3 days | 5–10 days |
| Medium prop (helmet, frame) | 3–5 days | 10–14 days |
| Hero prop (large, detailed) | 5–10 days | 14–28 days |
| Large set decoration | 7–14 days | 21–35 days |
Emergency mode (under 24 hours): possible, but cost rises 100–300%. We use it rarely, but production occasionally demands it.
Budget tip: when the hero prop is really critical (closeup screen time over 30 seconds), plan 1.5–2× the typical timeline — leaves room for finishing iteration.
NDAs, exclusivity, IP
Confidentiality is often critical in production. Our standard:
- NDA before the project starts. Signed for every new production.
- CAD ownership. Default: client (production). The design is your IP.
- Sharing restrictions. We don't share photos of the finished prop publicly until the production has released them. Later portfolio use only with client approval.
- Exclusivity. When the project requires that we not produce the same design for anyone else, we add it to the contract.
Frequently asked questions
Can you make a prop the actor has to break?
Yes. We print "intentional break point" props — internal structure designed to fracture at a specific spot. Usually 2–3 versions, for testing and as backups.
How does studio-light heat affect the plastic?
Studio lighting typically reaches 30–60 °C at the prop surface. PLA starts to soften at 60 °C. For props in the heat we recommend PETG, which handles 70 °C without deformation.
Can you do an aged or rusted look?
Yes, that's standard finishing technique. We use the same "weathering" methods as a film makeup department — aging, wear, dirt, color fading.
Is shipping large props from your shop to set a problem?
No. Anything over 1.5 m breaks down into segments for transport and assembles on site. We can send a technician for a 1–3 day on-site stay for assembly and repairs.
Is 3D printing or traditional sculpting more cost-effective?
Depends on design complexity. Simple geometric forms (a sword, a shield) — sculpting is often cheaper. Detailed, fantastical, asymmetric forms — 3D printing always wins.
Summary
3D printing fits film and photo production best when:
- The deadline is short and traditional sculpting can't make it.
- The design is detailed or fantastical — where sculpting would need specialist skill.
- You need multiple variants — hero, backup, battle-damaged, stunt — of the same design.
- Sizes are large — up to 800 × 800 × 1000 mm in one piece, or larger split into segments.
Tell us about your production needs via the contact form — we'll work through schedules, finishing techniques, and budget realism before pricing.